Laptop CPU Threader Repair: A Comprehensive Guide
Introduction
Understanding the CPU Threader
The CPU threader is a critical component of a laptop's CPU, responsible for holding the CPU heatsink in place. Over time, the threader can become damaged or stripped, making it difficult to secure the heatsink properly. This can lead to overheating, throttling, and eventually, a complete system failure.
Causes of Damaged or Stripped CPU Threaders
Physical damage: Accidental drops or bumps can cause damage to the CPU threader.
Aging: As laptops age, the threader can become worn out, leading to stripped threads.
Improper installation: If the CPU heatsink is not installed correctly, it can put excessive pressure on the threader, causing damage.
Usage: Heavy usage, such as gaming or video editing, can put additional stress on the CPU threader, leading to damage.
Tools and Techniques Required for Repair
To repair a damaged or stripped CPU threader, you will need the following tools and techniques:

Screw extractor set: A screw extractor is a tool that allows you to remove stripped screws without damaging the surrounding material.
Thermal paste: Applying thermal paste to the CPU can help reduce temperatures and eliminate throttling.
Thread repair kit: A thread repair kit can be used to repair damaged or stripped threads.
Patience and caution: Repairing a CPU threader requires patience and caution, as the process can be delicate and requires careful handling.
Step-by-Step Repair Guide
Here's a step-by-step guide to repairing a damaged or stripped CPU threader:
Step 1: Prepare the Area
Before starting the repair, make sure the area around the CPU threader is clean and free from debris.
Step 2: Remove the CPU Heatsink
Remove the CPU heatsink and set it aside.
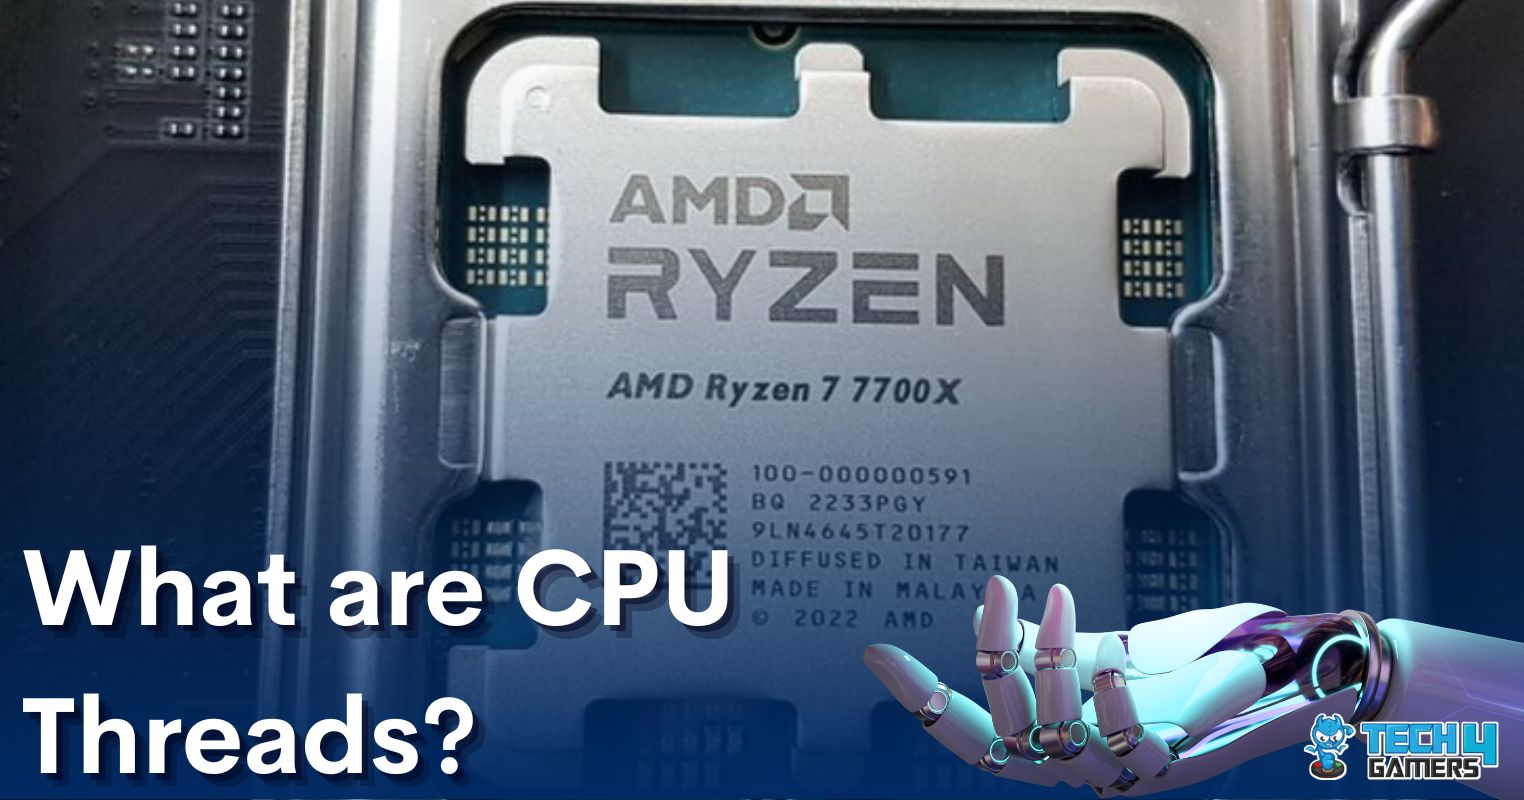
Moving forward, it's essential to keep these visual contexts in mind when discussing Laptop Cpu Threader Repair.
Step 3: Apply Thermal Paste
Apply a thin layer of thermal paste to the CPU.
Step 4: Remove the Stripped Screw
Use a screw extractor to remove the stripped screw from the CPU threader.
Step 5: Repair the Thread
Use a thread repair kit to repair the damaged or stripped thread.
Step 6: Reattach the CPU Heatsink

Furthermore, visual representations like the one above help us fully grasp the concept of Laptop Cpu Threader Repair.
Reattach the CPU heatsink and make sure it is securely fastened.
Conclusion
Laptop CPU Threader Repair Services
While it is possible to repair a damaged or stripped CPU threader yourself, it's not always the best option. If you're not comfortable with DIY repairs or if the damage is extensive, it's recommended to seek the help of a professional laptop repair service. These services have the expertise and equipment to diagnose and repair laptop issues quickly and efficiently.
Prevention is the Best Cure
To prevent damage to your laptop CPU threader, make sure to handle your laptop with care, avoid physical shocks, and keep the system clean and dust-free. Regular maintenance and proper handling can go a long way in extending the life of your laptop.


 | Fix Laptop & Desktop ...")


![Picture of [SOLVED] - Stripped T5 Screw — can't open laptop](https://phoenixnap.com/kb/wp-content/uploads/2025/08/cpu-threads-and-cpu-cores.jpg "[SOLVED] - Stripped T5 Screw — can't open laptop")


?")


