How to Set Up a Teamspeak 3 Server for Your Gaming Community
Are you a gamer who wants to create a platform for your community to communicate effectively while gaming together? Setting up a Teamspeak 3 server is the perfect solution. In this article, we'll guide you through the process of setting up a Teamspeak 3 server for your gaming community, and provide you with tips on how to get the most out of your server.Why Do You Need a Teamspeak 3 Server?
Decades ago, TeamSpeak was a cornerstone of online communication for gaming communities, professional teams, and groups that require crystal-clear, reliable, and private voice chat. While other platforms have risen, TeamSpeak maintains a loyal following due to its control and reliability. With a Teamspeak 3 server, you own the data, set the rules, and control the environment.Step 1: Download and Install Teamspeak 3
To set up a Teamspeak 3 server, you need to download and install the TS3 Client on your computer or device. You can find the download link on the Teamspeak website. Once downloaded, run the installer and follow the prompts to install the client.Step 2: Download the Server Software
After installing the client, you need to download the server software. You can find the download link on the Teamspeak website. The software is available for Windows, macOS, and Linux. Make sure to download the correct version for your operating system.Step 3: Launch the Server
Step 4: Configure the Server Settings
To configure the server settings, open the Teamspeak 3 Server Manager and navigate to the General tab. Here, you can set the server ID, server name, and other general settings. You can also configure the audio settings, such as the codec and bitrate.Step 5: Set Up the Web Interface
To set up the web interface, navigate to the Web Interface tab in the Server Manager. Here, you can configure the web server settings, such as the port and IP address. Make sure to note down these settings, as you will need them to access the server later. To allow your server to be accessed by other players, you need to configure the ports. To do this, navigate to the Port Forwarding tab in the Server Manager. Here, you can configure the server ports, such as the TCP and UDP ports.Step 7: Set Up the Firewall
To prevent unauthorized access to your server, you need to set up the firewall. To do this, navigate to the Firewall tab in the Server Manager. Here, you can configure the firewall settings, such as the inbound and outbound rules.Step 8: Launch the Server

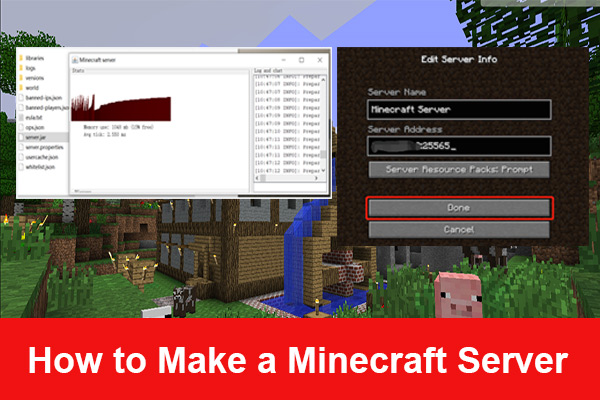
Moving forward, it's essential to keep these visual contexts in mind when discussing How To Set Up A Teamspire Minecraft Server.
Once you have configured the server settings, launch the server by clicking on the Launch Server button. The server will now be online and accessible by other players.Additional Tips and Troubleshooting
To get the most out of your Teamspeak 3 server, make sure to:- Set up port forwarding to allow other players to access the server.
- Configure the server settings, such as the audio settings and web interface.
- Set up the firewall to prevent unauthorized access.
- Make sure to keep your server software up to date.


