Granite Countertop Installation with Decorative Trim: A Comprehensive Guide
Are you looking to enhance the beauty and functionality of your kitchen or bathroom with a granite countertop installation? The addition of decorative trim can take your project to the next level, providing a seamless and stylish finish. In this article, we will delve into the world of granite countertop installation with decorative trim, covering everything from the basics to expert tips and tricks.
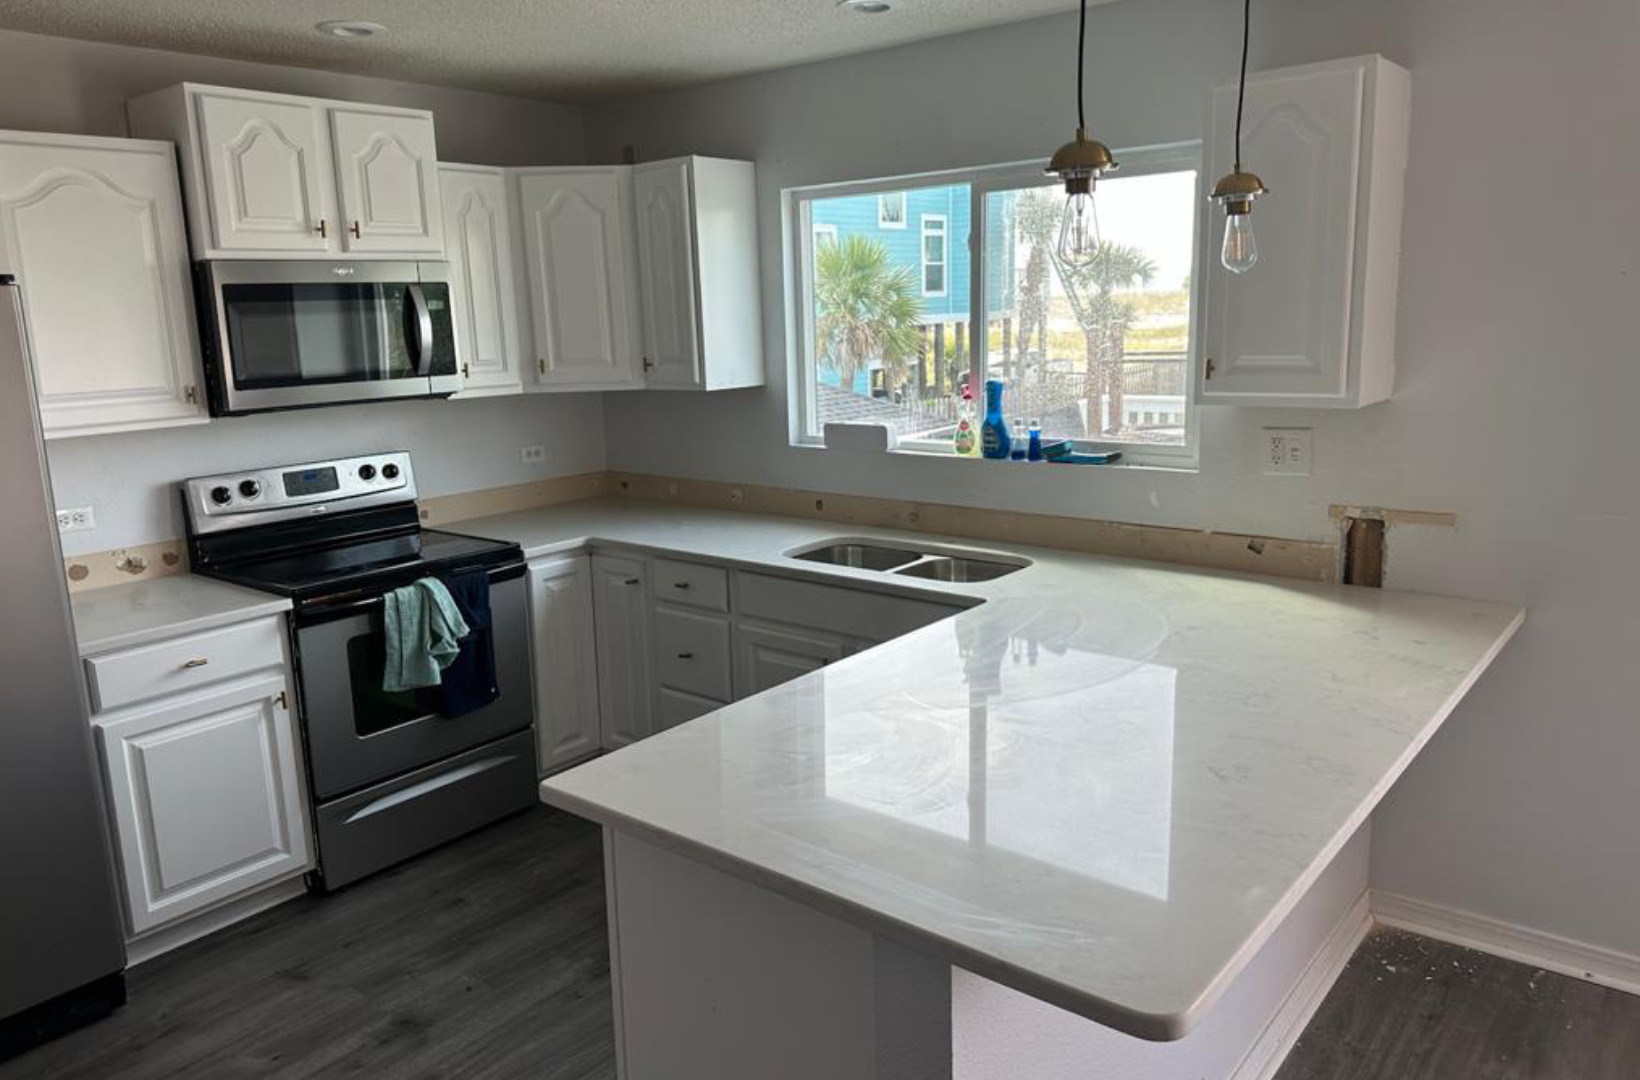
Understanding Granite Molding

Moving forward, it's essential to keep these visual contexts in mind when discussing Granite Countertop Installation With Decorative Trim.
Granite molding, also known as decorative edge trim, is a band of granite used to finish the borders of kitchen countertops, backsplashes, or cabinetry. It serves both a functional and aesthetic purpose, protecting the countertop edges while enhancing the overall design of the space.
Granite countertops are a beautiful addition to any kitchen or bathroom, offering durability, heat resistance, and ease of maintenance. They also increase the value of your property and provide a unique, natural look that is hard to replicate with other materials.

- Highest Quality Materials: Choose from a wide range of granite slab options to find the perfect fit for your project.
- Durable and Long-Lasting: Granite countertops withstand scratches and heat without losing their charm.
- Easy Maintenance: A simple cleaning routine keeps your granite countertops looking their best.
- Anchored to Perfection: Our support brackets safeguard your granite countertops from sagging and cracking.
Step-by-Step Guide to Granite Countertop Installation
Such details provide a deeper understanding and appreciation for Granite Countertop Installation With Decorative Trim.
Instlling a granite countertop with decorative trim is a multi-step process requiring precision, expertise, and attention to detail. Here is a comprehensive guide to help you navigate the process:
- Step 1: Planning: Measure your countertop area carefully, considering any obstructions or edges that require special attention.
- Step 2: Fabrication: Choose a reputable fabricator to precision-cut and shape your granite slabs to fit your measurements.
- Step 3: Installation: Ensure a solid bond with high-strength epoxy adhesive and seal any gaps with a durable silicone sealant.
- Step 4: Finishing: Add decorative trim to complete your granite countertop installation, choosing from various edge styles and finishes.


")


 - wikiHow")

