Discord Server Configuration Tutorial: A Comprehensive Guide
Setting up a Discord server is easy with this comprehensive guide. Whether you're building a community for gaming, study groups, or other hobbies, we'll walk you through the steps to create a server from scratch. In this tutorial, we'll cover everything from setting up a new server to configuring roles and channels, so you can create a space where your community can thrive.
Creating a Discord Server
Creating a Discord server is straightforward. First, you'll need to either download Discord (Windows, macOS, Linux, iOS, or Android) or open the Discord web interface. Either way, you'll need to create a free user account to get going. So go ahead and do all that first.
Step-by-Step Guide to Setting Up a Discord Server
Configuring Roles and Permissions
Roles and permissions are essential to control who can do what in your server. To configure roles, follow these steps:
Click on the "Roles" tab in the server settings.
Click on the "Add Role" button to create a new role.
Choose a role name, description, and permissions to define what actions are available for that role.
Assign permissions to roles by clicking on the "Permissions" tab.
Customize the permissions for each role by checking or unchecking boxes next to different actions (e.g., "Create Channel," "Manage Messages," etc.).
Configuring Channels
Channels are necessary to organize your conversations and activities in your server. To configure channels, follow these steps:
Click on the "Channels" tab in the server settings.
Click on the "Create Channel" button to create a new channel.
Choose a channel name, description, and type (text, voice, or stage).
Customize the channel settings, such as permissions, bitrate, and more.
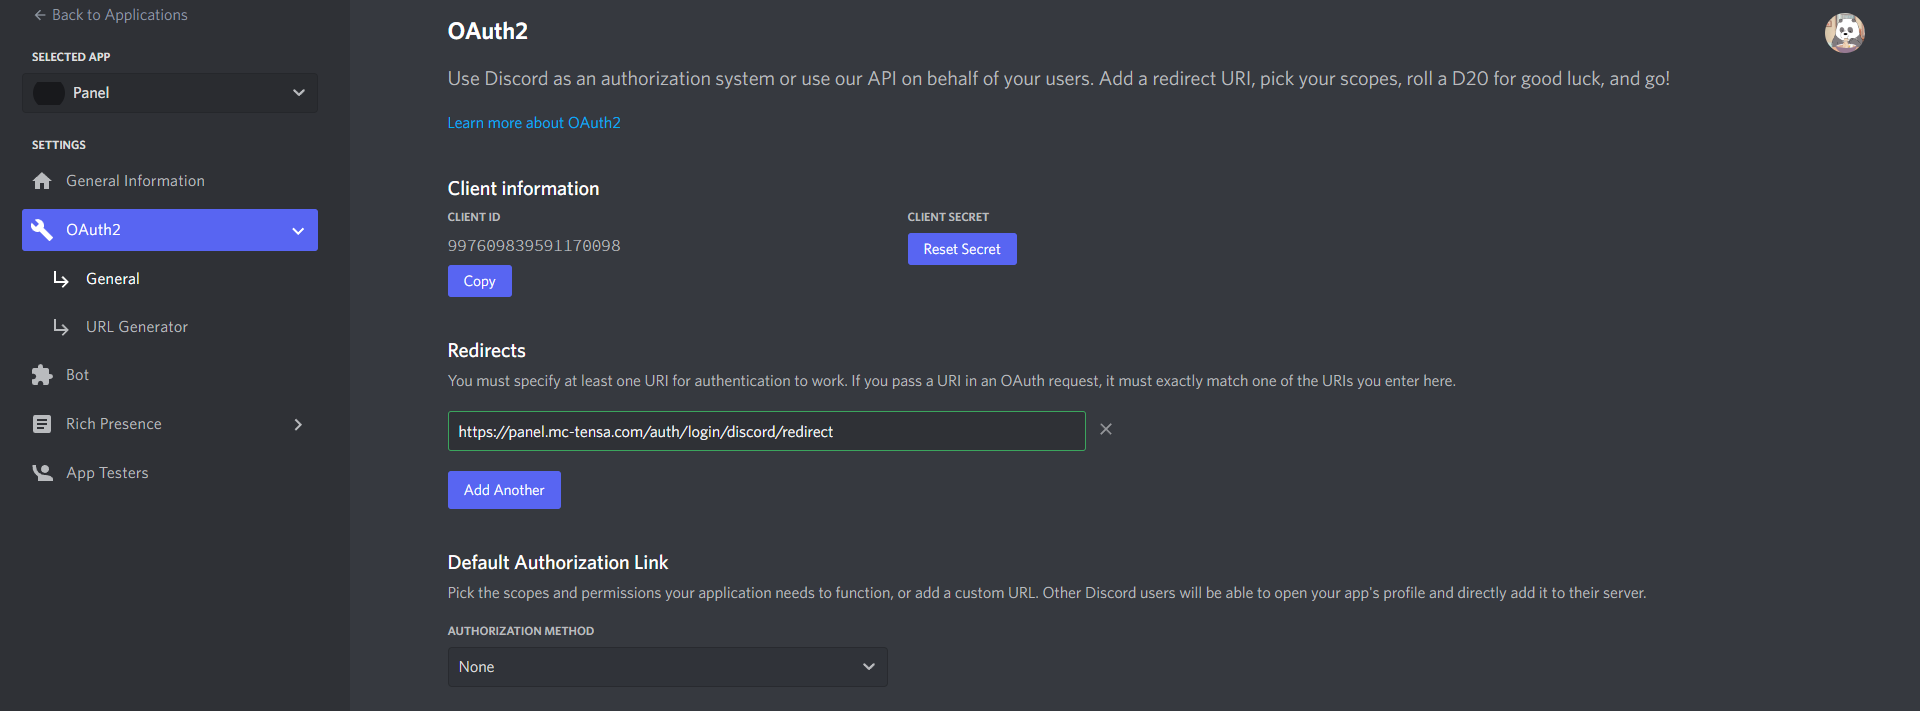
Integrations and Customization
Discord offers a wide range of integrations with other apps and services to enhance your server experience. To integrate with other services, follow these steps:
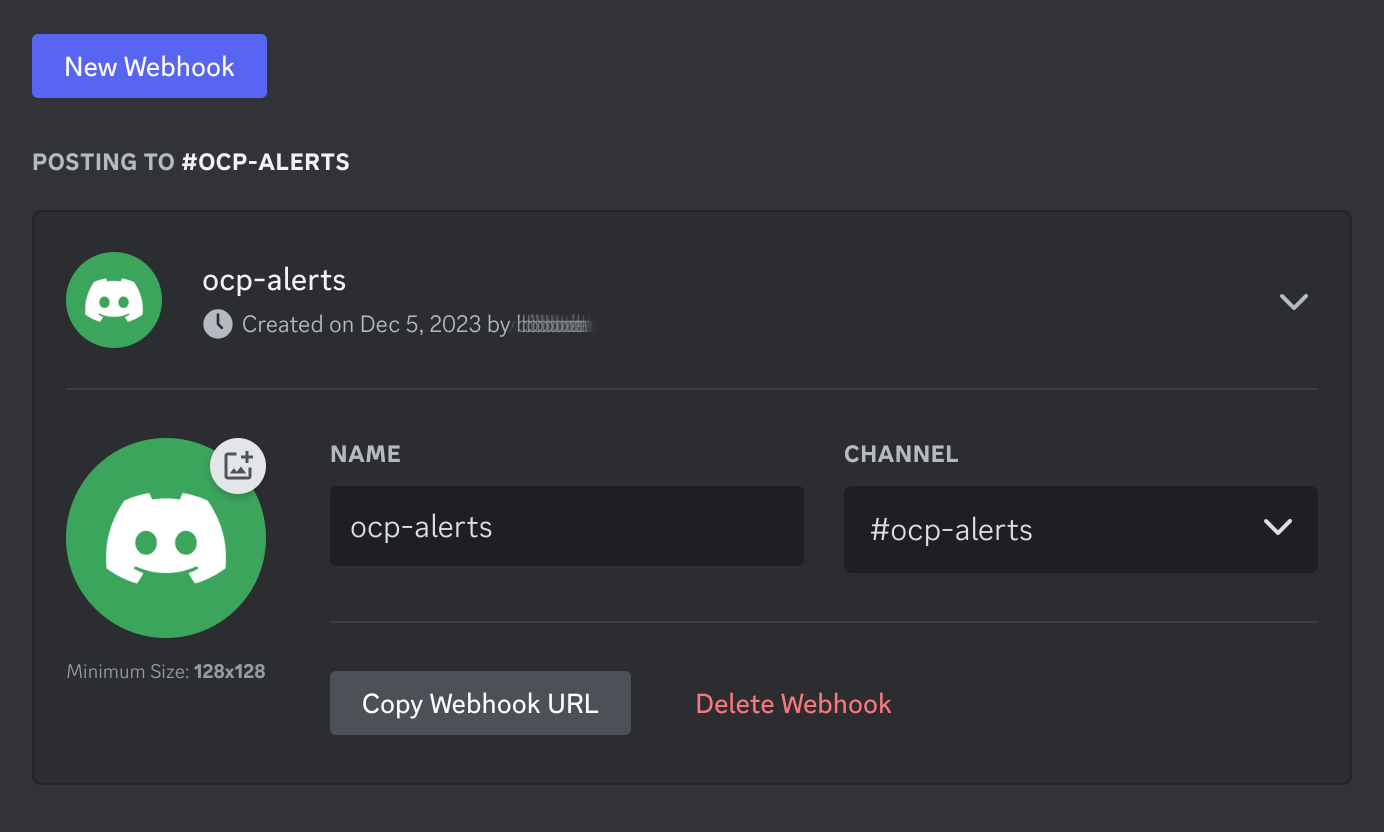
Go to the "Server Settings" and click on the "Integrations" tab.
Search for the integration you want to add (e.g., a bot, music platform, etc.).
Click on the "Add Integration" button to connect your server to the chosen service.
Customize the integration settings as needed.
Additionally, you can customize your server's branding and looks by adding custom icons, splash screens, and more.
Common Configuration Issues and Troubleshooting
Resolving configuration issues can be frustrating. But don't worry; here are some common issues and troubleshooting tips:
Conclusion
Configuring your Discord server to the way you want it can be a bit overwhelming, but with this comprehensive tutorial, you should now have the knowledge to create a space that suits your community's needs. Remember to keep your server settings, roles, channels, integrations, and branding up to date, and don't hesitate to reach out to me if you encounter any issues or need further assistance.
Happy server building and happy killing (just kidding)!


")


