Are you tired of relying on public Minecraft servers that are often laggy and filled with toxic players? Do you want to take your Minecraft experience to the next level by hosting your own server? Look no further than Microsoft Azure, a powerful and reliable cloud platform that makes it easy to set up and manage your own Minecraft server.
Mar 5, 2025, students like you can already setup a free private Minecraft server on Azure using your free credit of $100 USD per year. In this step-by-step guide, we'll walk you through the process of setting up a Minecraft server on Azure, exploring the benefits, setup process, and essential tips for optimizing your cloud-hosted gaming server.
Introduction
Minecraft is one of the most popular games in the world, and its community of players is growing every day. However, public Minecraft servers can be a hassle to navigate, with long wait times, laggy gameplay, and a high risk of encountering toxic players. By hosting your own Minecraft server on Azure, you can create a customized experience that's tailored to your needs and preferences.
Benefits of Setting Up a Minecraft Server on Azure
So, why should you consider setting up a Minecraft server on Azure? Here are just a few of the benefits:
* - Reliable Uptime: Azure's servers are built to provide 99.99% uptime, ensuring that your Minecraft server is always available and ready to play.
1. Create an Azure Account
The first step is to create an Azure account. You can sign up for a free trial or use an existing Azure account. Make sure to get your free credit of $100 USD per year, which you can use to set up your Minecraft server.2. Create a Virtual Machine

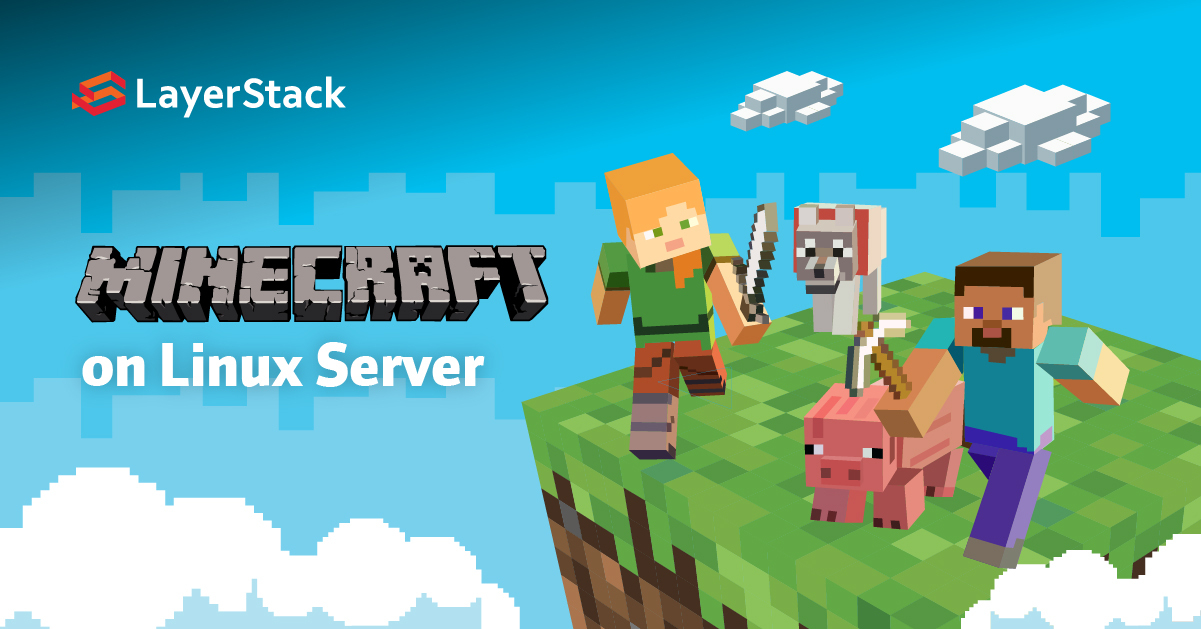
Moving forward, it's essential to keep these visual contexts in mind when discussing Set Up A Server For Minecraft Using Azure.
Once you've created your Azure account, you'll need to create a virtual machine. You can do this by clicking the "New" button in the Azure portal and selecting "Compute" -> "Windows Server 2012 R2 Datacenter". Fill in the required information, including your virtual machine's hostname, username, and password.3. Configure the VM
Once you've created your virtual machine, it's time to configure it. You'll need to select the option to configure the VM's OS settings, including the time zone and resource group.4. Install Minecraft Server Software
The next step is to install Minecraft server software on your virtual machine. You can do this by creating a new virtual machine and installing the Minecraft server software using the command line.5. Configure Minecraft Server Properties
After you've installed the Minecraft server software, you'll need to configure the properties of your Minecraft server. You can do this by editing the `server.properties` file using the command line.6. Start the Server
Once you've configured the properties of your Minecraft server, it's time to start it. You can do this by running the command `java -jar "your jar name".jar` in the command line.7. Connect to the Server