Mastering Motherboard Capacitor Replacement Tutorials: A Comprehensive Guide
Replacing faulty capacitors on your motherboard can be a daunting task, but with the right knowledge and techniques, it's a DIY project that can save you money and give you a sense of accomplishment. In this article, we'll delve into the world of motherboard capacitor replacement tutorials, covering the basics, tools, and step-by-step guides to help you fix faulty capacitors on your computer's motherboard.
Understanding Motherboard Capacitors
Capacitors are crucial components on a motherboard, responsible for filtering and regulating the power supply to various components. They help prevent electricity from spiking and frying other components, making them a vital part of your computer's health. However, capacitors can fail over time, leading to system crashes, random restarts, or erratic behavior.
Identifying Faulty Capacitors
Sometimes, faulty capacitors can be easily identified, while other times, it may require a bit of detective work. Here are some common symptoms of a faulty capacitor:

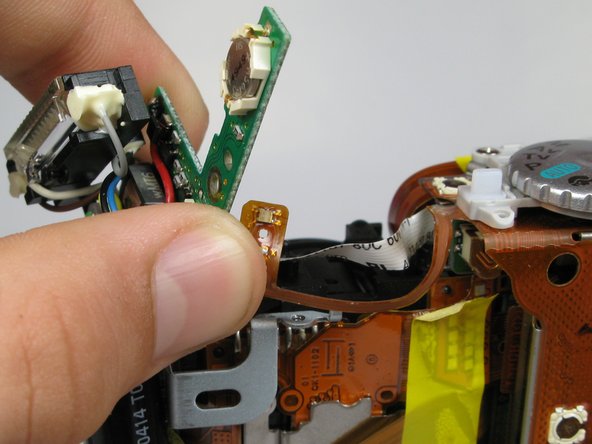
As we can see from the illustration, Motherboard Capacitor Replacement Tutorials has many fascinating aspects to explore.
Tools and Materials Needed
To fix a faulty capacitor, you'll need the following tools and materials:
- Soldering iron and desoldering pump or wick
- Solder wire and flux
- Replacement capacitors (make sure to match the voltage and capacitance rating)
- Anti-static wrist strap or mat
- Safety glasses and a well-ventilated workspace
Step-by-Step Guide to Replacing a Faulty Capacitor
Replacing a faulty capacitor requires attention to detail and a good understanding of electronics. Here's a step-by-step guide to help you replace a faulty capacitor on your motherboard:
- Shut down your computer and unplug it from the power source.
- Ground yourself by wearing an anti-static wrist strap or standing on an anti-static mat.
- Locate the faulty capacitor and carefully remove it from the motherboard.
- Clean the area around the capacitor using a desoldering wick or pump.
- Apply a small amount of flux to the new capacitor and insert it into the motherboard.
- Solder the new capacitor in place, making sure to use the correct soldering technique.
- Inspect the capacitor and surrounding area to ensure everything is secure and properly connected.
- Turn on your computer and test the system to ensure the capacitor replacement was successful.
Conclusion
Replacing faulty capacitors on your motherboard can be a rewarding DIY project that saves you money and gives you a sense of accomplishment. By following the guidelines and tutorials outlined in this article, you'll be well on your way to mastering motherboard capacitor replacement tutorials. Remember to always exercise caution when working with electronics, and if you're unsure or uncomfortable with the process, consider consulting a professional.
Additional Resources
For further learning and guidance, check out the following resources:


")


