How to Tie Shoelaces That Stay Tight: Master the Perfect Knot
There’s nothing more frustrating than laces that slip loose after a short walk—especially when you’re in a hurry, running after the kids, or getting ready for something important. Learning how to tie shoelaces that stay tight isn’t just about tying fast; it’s about mastering a knot that holds strong, keeps your shoes secure, and lasts through every step. Whether you’re a parent helping a child, a hiker needing confidence on the trail, or simply someone who values reliable footwear, mastering this shoelace technique makes all the difference.The Science Behind a Tight Shoelace Knot
Step-by-Step: How to Tie Shoelaces That Stay Tight

This particular example perfectly highlights why How To Tie Shoelaces That Stay Tight is so captivating.
Ready to get started? Follow these clear, tested steps to tie shoelaces that won’t slip:- Start with long enough laces—twice the length is better to allow tight loops without frustration.
- Hold both ends comfortably, then bring the left lace over the right, creating a basic overhand knot. Pull it snug but not too tight—allow space for adjustments.
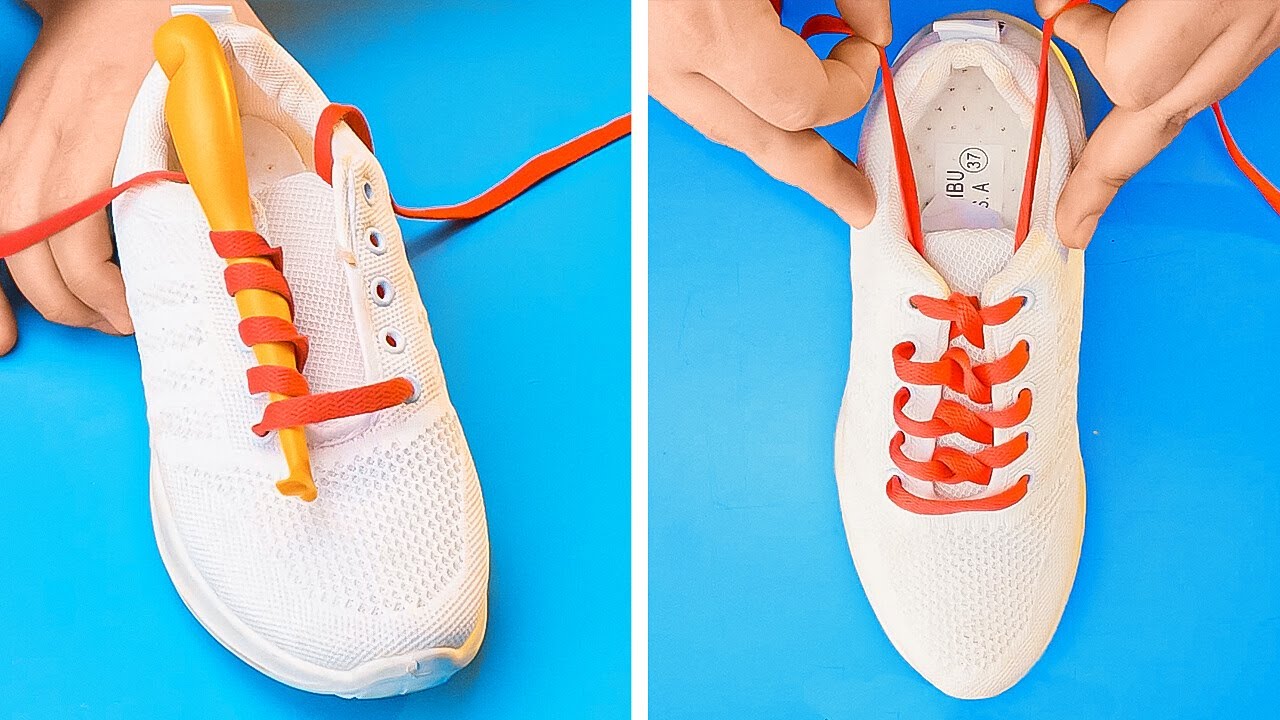
- Cross the laces at the middle, forming an “X.” This crisscross pattern adds structure and increases friction early on.
- Pass the left lace under the right, then up through the loop formed earlier—this creates a second layer of strength. Pull together firmly.
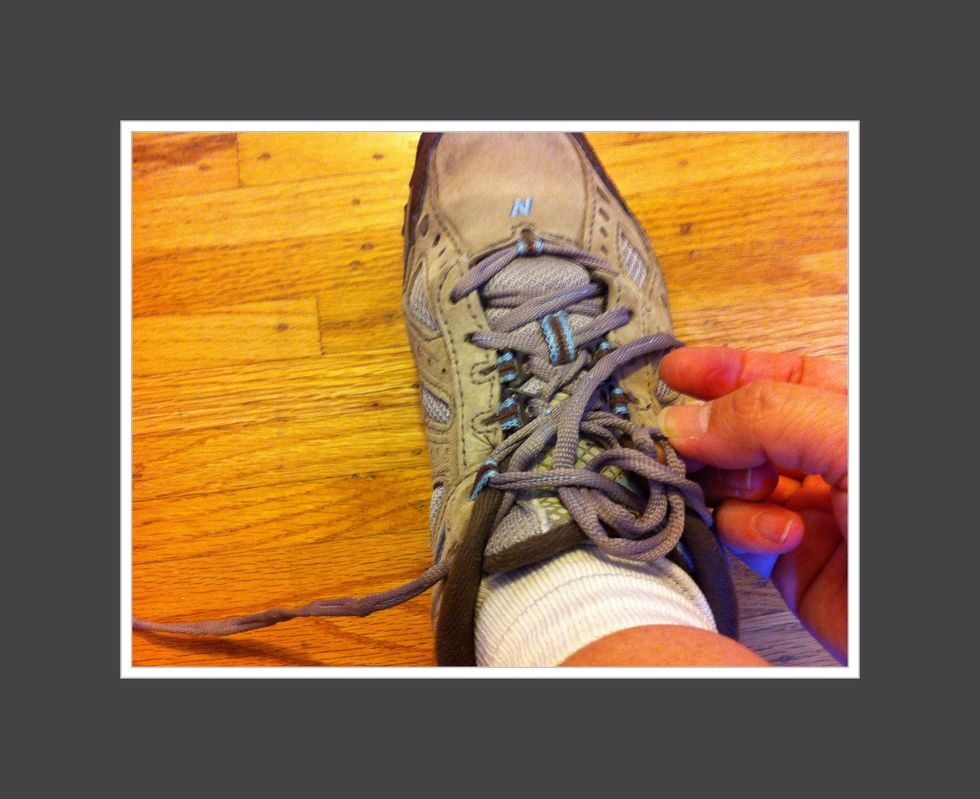
- Grab both ends and tighten evenly, ensuring the knot sits securely on the shoe’s tongue. Avoid jerking—this can loosen the tension.
- Trim excess laces close to the knot


")