Expert-Approved Ceiling Fan Installation Tips: How to Safely Install a New Ceiling Fan
Need to install a new ceiling fan? We can help! It might seem a little daunting at first, but it's actually quite easy to install a new ceiling fan on your own. In this comprehensive guide, we'll walk you through the master protocol for installing a ceiling fan safely and securely. Keep reading to learn the essential steps to upgrade your room's airflow, starting with choosing the right ceiling fan for your home.
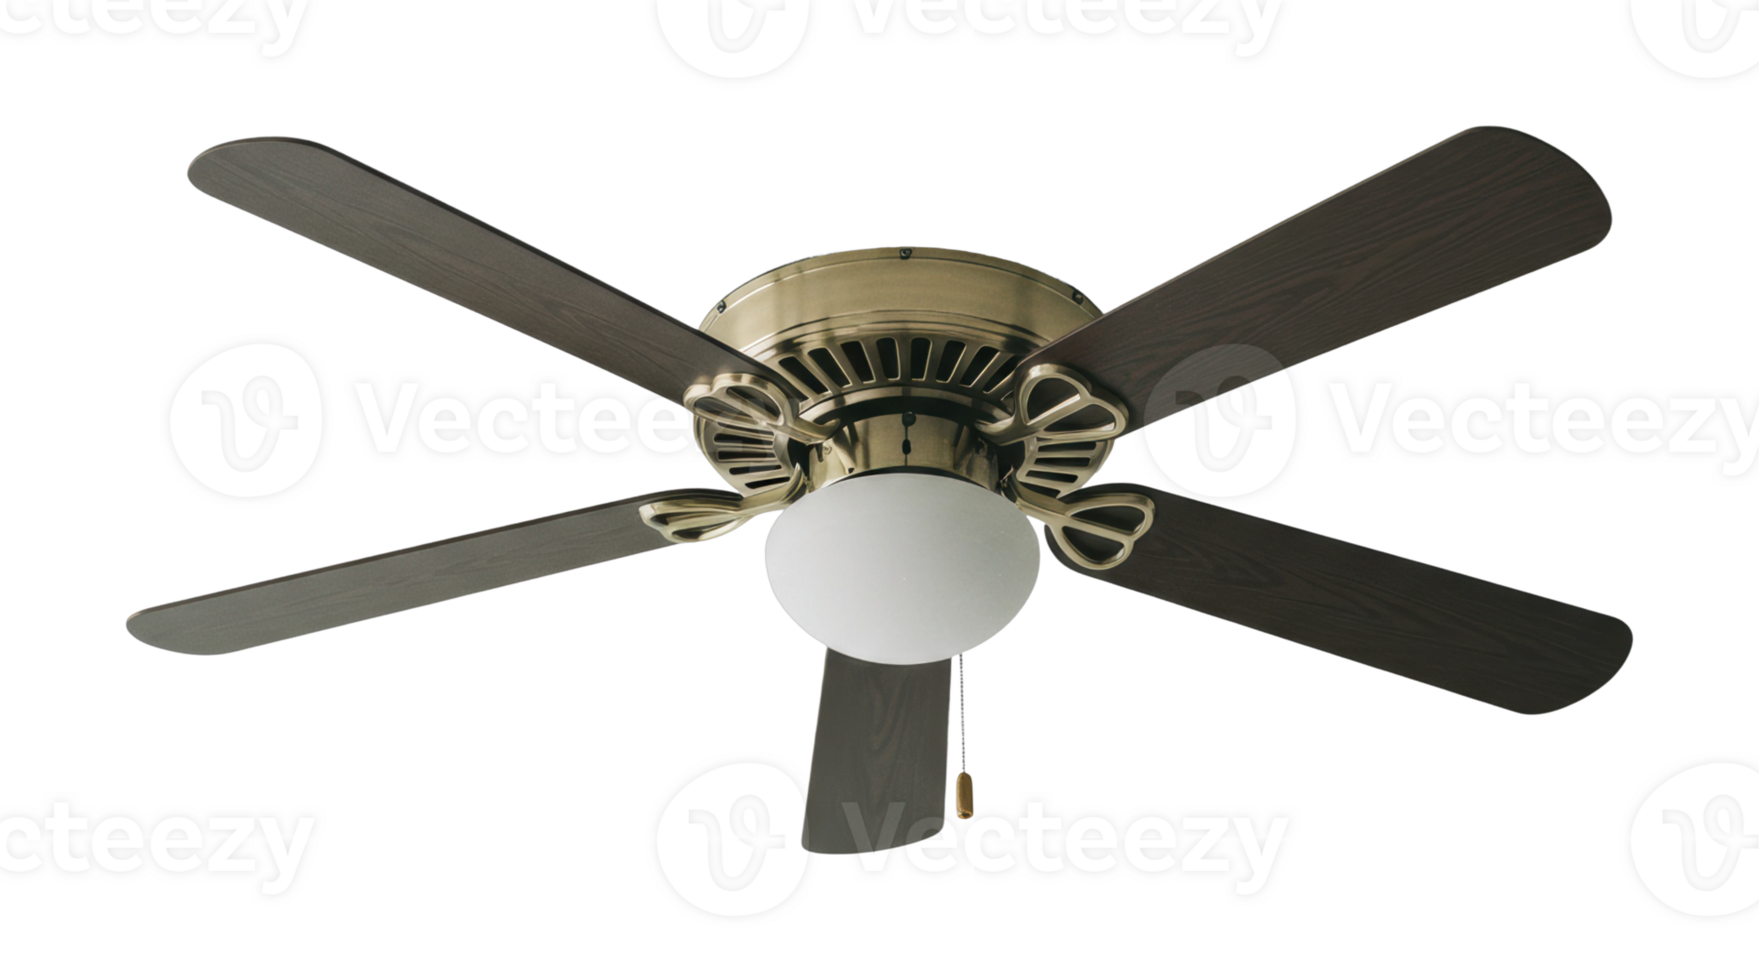
Step 1: Choose the Right Ceiling Fan for Your Home
Step 2: Prepare Your Ceiling for Installation
Before you begin installing your new ceiling fan, make sure you have the right tools and materials. These include a ladder, drill, screwdriver, wire strippers, and a voltage tester. Turn off the power to the circuit at the main electrical panel and verify that it's de-energized with a voltage tester.
Step 3: Remove the Existing Fixture (If Necessary)
Step 4: Assemble the New Fan
Assemble the new fan according to the manufacturer's instructions. This may involve attaching the LED light kit, remote control, or DC motor. Make sure to follow the manufacturer's recommendations and use the correct screws and washers to avoid damaging the fan or causing a safety hazard.
Step 5: Install the Mounting Bracket (If Necessary)
Some ceiling fans come with a pre-installed mounting bracket, while others may require you to install it separately. Make sure to follow the manufacturer's instructions for installing the mounting bracket, and use the right screws and washers to avoid damaging the fan or causing a safety hazard.
Step 6: Hang the Fan and Connect the Wires
Hang the fan from the mounting bracket and connect the wires to the correct terminals. Make sure to follow the manufacturer's instructions and use the correct wires to avoid causing a safety hazard. Verify that the fan is properly connected to the power source and turn it on to test it.
Step 7: Test the Fan and Complete the Installation

Turn on the switch and check that the blades are rotating in the right direction based on the season (clockwise for winter and counterclockwise for summer). Verify that the fan is working properly and adjust as needed. Once you've completed the installation, make sure to test the fan to ensure it's working safely and efficiently.
Conclusion
Installing a new ceiling fan is a relatively simple task that can make a big difference in the comfort and style of your home. By following the expert-approved ceiling fan installation tips outlined in this guide, you can safely and securely install a new ceiling fan that provides years of reliable and efficient service. Remember to choose the right ceiling fan for your home, prepare your ceiling for installation, assemble the new fan, install the mounting bracket (if necessary), hang the fan and connect the wires, and test the fan to complete the installation.
Additional Resources
Need more information on how to install a ceiling fan? Here are some additional resources to help you get started:
- Hunter Fan's Comprehensive Guide to Ceiling Fan Installation
- ceiling fan installation tips on Amazon
- ceiling fan installation cost on Wikipedia


